Understanding and Enhancing Skin Tone in Photoshop
Photoshop, the go-to software for graphic designers, photographers, and artists, offers a plethora of tools and features to enhance and modify images. One of the most crucial aspects of image editing is adjusting skin tone. Whether you’re retouching portraits, creating digital art, or simply improving the quality of your photos, understanding how to manipulate skin tone effectively is essential. In this article, we’ll delve into various techniques and methods to help you master the art of adjusting skin tone in Photoshop.
Understanding Skin Tone

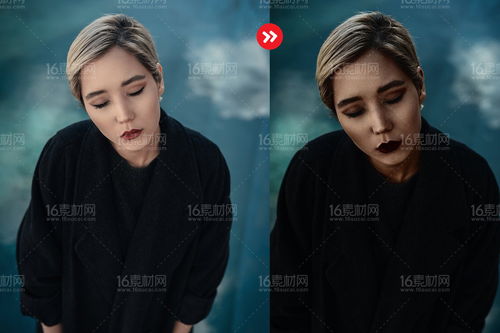
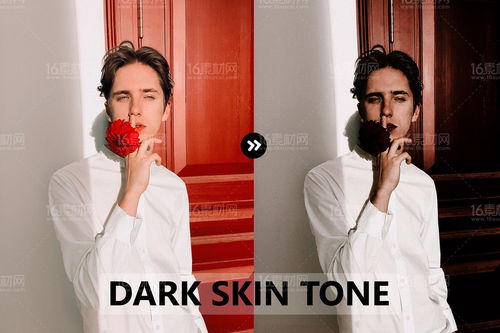
Before diving into the techniques, it’s important to understand what skin tone is. Skin tone refers to the color and texture of a person’s skin, which can vary widely based on factors such as ethnicity, age, and lighting conditions. In Photoshop, adjusting skin tone involves modifying the color, brightness, and contrast of the skin to achieve a more natural or desired look.
There are several tools and methods available in Photoshop to adjust skin tone:
- Adjustment Layers: Adjustment layers are non-destructive layers that allow you to modify the appearance of an image without altering the original pixels. Common adjustment layers for adjusting skin tone include Brightness/Contrast, Curves, and Color Balance.
- Brush Tool: The Brush Tool is a versatile tool that allows you to paint adjustments directly onto an image. This is particularly useful for retouching specific areas of the skin, such as blemishes or uneven tones.
- Layer Masks: Layer masks are used to hide or reveal parts of an image. By applying a layer mask to an adjustment layer, you can selectively apply the adjustment to only the areas of the image you want to modify.
- Color Correction Tools: Photoshop offers various color correction tools, such as the Color Balance, Color Range, and Select Color tools, which can be used to adjust the overall color of the skin.
Techniques for Adjusting Skin Tone
Now that we have a basic understanding of the tools and methods available, let’s explore some techniques for adjusting skin tone in Photoshop:
1. Using Adjustment Layers
Adjustment layers are a great way to make non-destructive adjustments to your image. To adjust skin tone using adjustment layers, follow these steps:
- Create a new adjustment layer by clicking on the Adjustment Layer icon in the Layers Panel.
- Select the appropriate adjustment layer for your needs. For adjusting skin tone, we recommend using Brightness/Contrast, Curves, or Color Balance.
- Adjust the sliders to modify the skin tone. For example, to make the skin tone lighter, increase the brightness and decrease the contrast.
- Use the Layer Mask to selectively apply the adjustment to the skin. To do this, click on the Layer Mask icon in the Layers Panel, and then paint with black to hide the adjustment or white to reveal it.
2. Using the Brush Tool
The Brush Tool is a powerful tool for retouching specific areas of the skin. To adjust skin tone using the Brush Tool, follow these steps:
- Select the Brush Tool from the toolbar.
- Choose a soft brush with a low opacity to avoid harsh lines.
- Load a sample of the skin tone from the image by holding down the Alt key and clicking on the area you want to sample.
- Paint over the areas of the skin you want to adjust, using the sampled color as a base.
- Adjust the brush settings, such as hardness and opacity, to achieve the desired effect.
3. Using Color Correction Tools
Color correction tools can be used to adjust the overall color of the skin, making it appear more natural or matching a specific lighting condition. To adjust skin tone using color correction tools, follow these steps:
- Select the Color Balance, Color Range, or Select Color tool from the toolbar.
- Adjust the settings to modify the skin tone. For example, use the Color Range tool to select the skin area and then adjust the color to match your desired tone.
- Use layer masks to selectively apply the adjustment to the skin.
Common Challenges and Solutions
Adjusting skin tone in Photoshop can be challenging, especially when dealing with complex images or specific skin tones. Here are some common