Replace Toner Cartridge: A Comprehensive Guide
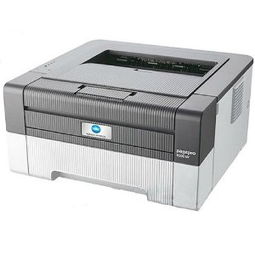
When it comes to maintaining your printer, one of the most crucial tasks is replacing the toner cartridge. This seemingly simple task can have a significant impact on the performance and longevity of your printer. In this article, we will delve into the various aspects of replacing a toner cartridge, ensuring that you are well-informed and confident in handling this task.
Understanding Your Printer’s Toner Cartridge

Before diving into the replacement process, it’s essential to understand the type of toner cartridge your printer uses. There are primarily two types: original equipment manufacturer (OEM) and compatible toner cartridges. OEM cartridges are manufactured by the printer’s manufacturer, while compatible cartridges are produced by third-party companies.
| Feature | OEM Cartridges | Compatible Cartridges |
|---|---|---|
| Quality | High quality, consistent results | Varies, but generally good quality |
| Price | Higher cost | Lower cost |
| Warranty | Comes with a warranty | May or may not come with a warranty |
While OEM cartridges offer high-quality prints and come with a warranty, compatible cartridges are more budget-friendly. It’s essential to research and choose a reputable brand for compatible cartridges to ensure optimal performance and avoid any potential issues.
Identifying the Right Toner Cartridge
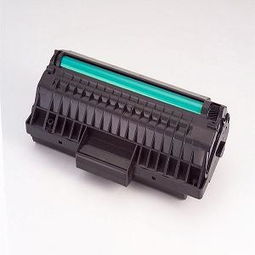
Once you’ve determined the type of toner cartridge your printer requires, the next step is to identify the correct model. This can be done by referring to your printer’s manual or by checking the label on the current toner cartridge. Here are some tips to help you find the right toner cartridge:
- Check the printer’s manual or the label on the current cartridge for the model number.
- Visit the printer manufacturer’s website and search for the toner cartridge model number.
- Use online retailers or printer supply stores that offer a wide range of toner cartridges.
The Replacement Process
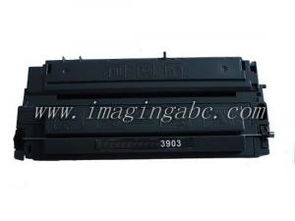
Now that you have the correct toner cartridge, it’s time to replace it. Here’s a step-by-step guide to help you through the process:
- Turn off and unplug your printer to ensure safety.
- Open the printer’s toner cartridge access door.
- Remove the old toner cartridge by gently pulling it out.
- Unscrew the old toner cartridge and remove it from the printer.
- Insert the new toner cartridge into the printer, ensuring it is properly aligned.
- Screw the new toner cartridge securely into place.
- Close the toner cartridge access door.
- Power on your printer and let it warm up.
- Run a test print to ensure the new toner cartridge is working correctly.
Preventing Future Issues
Replacing your toner cartridge is a task that needs to be performed regularly. To prevent future issues and ensure the longevity of your printer, consider the following tips:
- Keep your printer in a clean, dust-free environment.
- Handle toner cartridges with care to avoid spills or damage.
- Regularly clean the printer’s print head to prevent clogs.
- Follow the printer manufacturer’s maintenance schedule.
By following these tips and guidelines, you can ensure a smooth and successful toner cartridge replacement process, keeping your printer in optimal condition for years to come.