Photoshop Screen Tones: A Comprehensive Guide for Enhancing Your Visuals
Are you looking to add a touch of cinematic flair to your digital images? Photoshop screen tones are a powerful tool that can transform your visuals into something truly captivating. In this detailed guide, we’ll explore the ins and outs of using screen tones in Photoshop, from understanding their history to mastering the techniques for applying them to your images.
Understanding Screen Tones

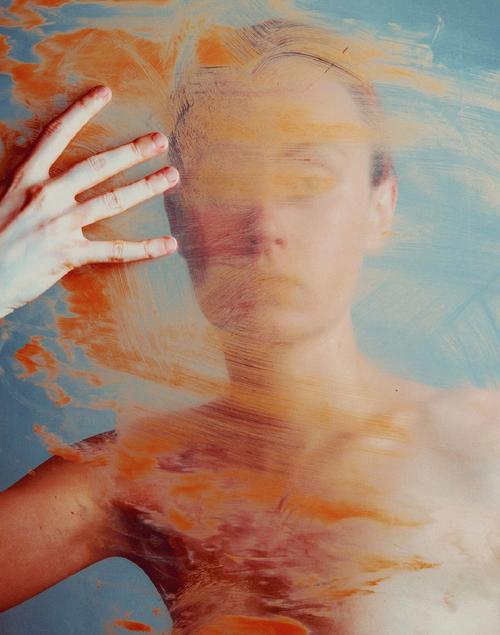
Screen tones are a technique used in film and photography to add a specific color or tint to the entire image. This technique was originally used to simulate the look of film stock or to create a particular mood. Today, screen tones are widely used in digital photography to achieve a unique aesthetic.
There are several types of screen tones, each with its own characteristics:
| Type | Description |
|---|---|
| Warm Tones | Warm tones, such as orange or red, can give your image a cozy, inviting feel. |
| Cool Tones | Cool tones, like blue or green, can create a sense of calm or mystery. |
| Desaturated Tones | Desaturated tones remove color from the image, giving it a more muted, vintage look. |
| Monochrome Tones | Monochrome tones convert the image to black and white, with various shades of gray. |
Applying Screen Tones in Photoshop
Applying screen tones in Photoshop is a straightforward process. Here’s a step-by-step guide to help you get started:
- Open your image in Photoshop.
- Create a new adjustment layer by clicking on the “Create New Fill or Adjustment Layer” button at the bottom of the Layers panel.
- Select “Color Balance” from the dropdown menu.
- Adjust the sliders to achieve the desired screen tone. You can experiment with different combinations of highlights, midtones, and shadows to find the perfect look.
- Once you’re satisfied with the color, you can further tweak the intensity by adjusting the opacity of the adjustment layer.
Customizing Your Screen Tone

While the Color Balance tool is a great starting point, you can take your screen tone to the next level by customizing it further:
- Layer Blending Modes: Experiment with different blending modes, such as Overlay, Soft Light, or Color, to achieve unique effects.
- Adjustment Layers: Use additional adjustment layers, such as Curves or Brightness/Contrast, to fine-tune the color and contrast of your screen tone.
- Layer Masks: Apply a layer mask to your screen tone layer to selectively hide or reveal the effect in specific areas of the image.
Common Screen Tone Presets
Photoshop comes with a variety of built-in screen tone presets that you can use as a starting point for your projects:
- Black & White: A classic monochrome look with various shades of gray.
- Warm Tones: A collection of orange and red-based screen tones.
- Cool Tones: A selection of blue and green-based screen tones.
- Desaturated: A set of desaturated color tones for a vintage look.
Final Thoughts
Photoshop screen tones are a versatile and powerful tool for enhancing your digital images. By understanding the different types of screen tones and mastering the techniques for applying them, you can create visually stunning images that stand out from the crowd. So go ahead, experiment with screen tones in Photoshop and let your creativity soar!