How to Use Retouch4me Skin Tone: A Comprehensive Guide
Retouch4me Skin Tone is a powerful tool for photographers and retouchers looking to enhance the skin of their subjects in post-processing. Whether you’re working on portraits, fashion, or beauty photography, mastering this tool can significantly improve the quality of your images. In this guide, we’ll walk you through the steps to effectively use Retouch4me Skin Tone, ensuring your subjects’ skin looks smooth, even, and radiant.
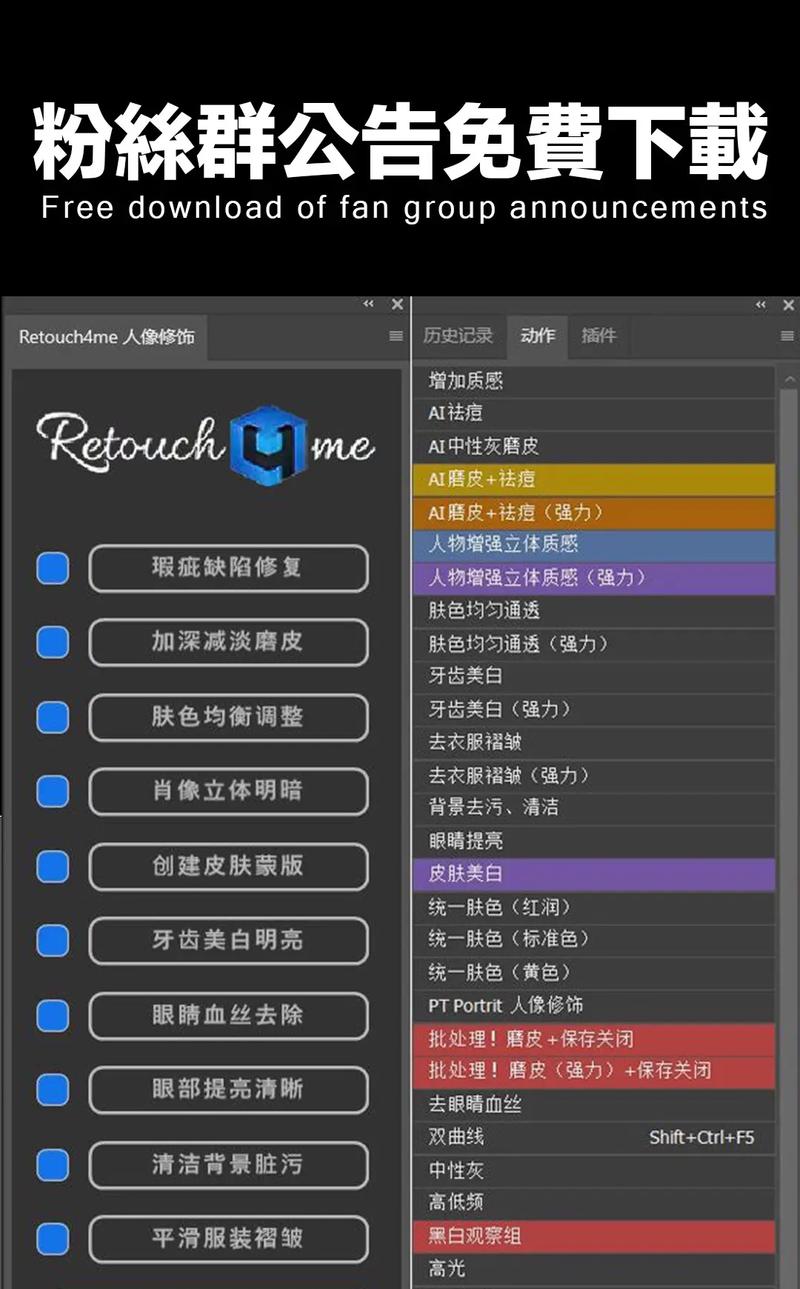
Understanding Retouch4me Skin Tone
Before diving into the specifics of using Retouch4me Skin Tone, it’s essential to understand what it does and how it works. This tool is designed to even out skin tones, reduce blemishes, and smooth out pores, all while maintaining the natural texture of the skin. It’s a non-destructive tool, meaning you can adjust settings as much as you like without affecting the original image.
Retouch4me Skin Tone is compatible with popular photo editing software like Adobe Photoshop, Lightroom, and Capture One. To use it, you’ll need to purchase a license, which is available on the official website. Once you have the software installed, let’s move on to the steps for using it effectively.
Step-by-Step Guide to Using Retouch4me Skin Tone
1. Open Your Image
Start by opening the image you want to edit in your preferred photo editing software. Make sure the image is at a high resolution to ensure the best results.
2. Apply Retouch4me Skin Tone
With your image open, go to the Filter menu and select Retouch4me Skin Tone. This will open a new window with the tool’s interface.
3. Adjust the Settings
Retouch4me Skin Tone offers a variety of settings to help you achieve the desired result. Here are some of the key settings to be aware of:
| Setting | Description |
|---|---|
| Smoothness | Adjusts the level of smoothing applied to the skin. Higher values will result in a more even skin tone, but may also remove some texture. |
| Clarity | Increases the contrast of the skin, making it appear more vibrant. Be careful not to overdo it, as this can make the skin look unnatural. |
| Redness | Reduces redness in the skin, which is particularly useful for correcting blemishes and acne. |
| Yellow | Adjusts the yellow tint in the skin, which can be useful for correcting skin tones that are too warm or too cool. |
| Color Correction | Adjusts the overall color of the skin, allowing you to correct skin tones that are too yellow, too red, or too blue. |
Experiment with these settings to find the perfect balance for your image. Remember, you can always undo any changes by pressing Ctrl+Z (Cmd+Z on Mac) or by using the History panel in your editing software.
4. Refine the Results
After adjusting the settings, you may notice that some areas of the skin still need improvement. To refine the results, use the Brush tool to selectively apply the effects to specific areas. This allows you to target blemishes, pores, and other imperfections without affecting the rest of the image.
5. Save Your Work
Once you’re satisfied with the results, save your image. It’s always a good idea to save a copy of the original image before making any changes, just in case you want to revert to the original version.
Common Questions About Using Retouch4me Skin Tone
Q: Can Retouch4me Skin Tone be used on all skin types?
A: Yes, Retouch4me Skin Tone is designed to work on all skin types, including sensitive skin. However, it’s always a good idea to test the tool on a small area of the image before applying it to the entire face.
Q: Will Retouch4me Skin Tone remove pores and blemishes completely?
A: While Retouch4me